Student portal — use guides

Short how-to paths for the Raisd Student portal demo. Aimed at working-group reviewers and campus stakeholders — not a production help centre.

Step-by-step Session-only demo behaviour Capabilities Screenshots

Guides

Remember: refresh clears most student writes in this demo. For every screen in detail, see the user manual. Live delivery needs Portal API → CMS (CAP-53) and matching staff paths.

Open the portal and find your way

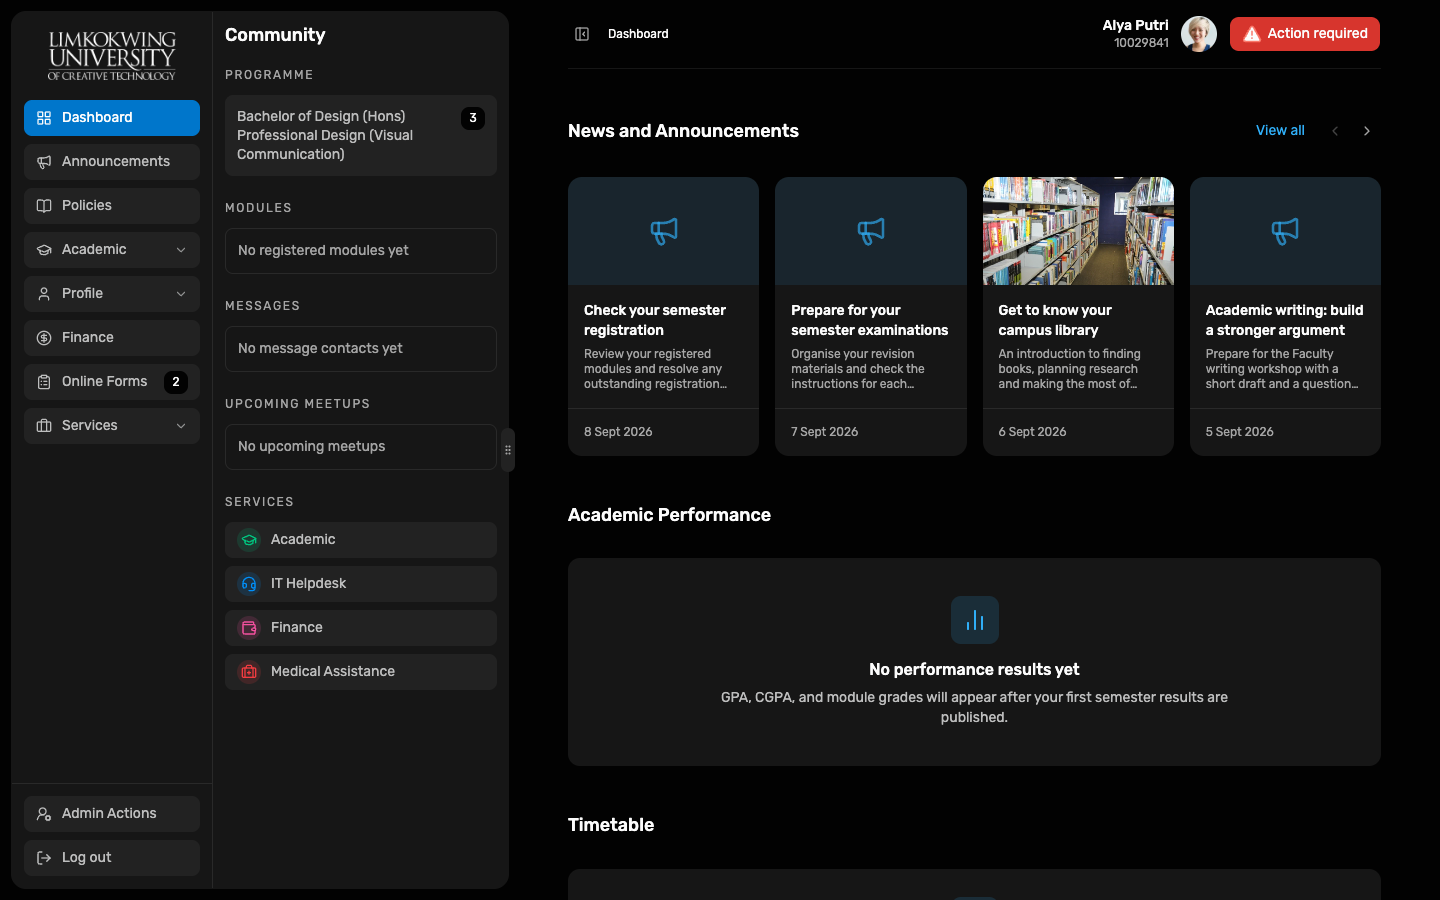
  1. Start on the Dashboard — news, a performance peek, timetable and calendar shortcuts.
  2. Use the left sidebar for Academic, Profile, Finance, Immigration (international only), Online Forms, Services and Policies.
  3. Community (right) holds chats and IT Helpdesk. Unread badges are session-only.
  4. Development tools (student scenario switcher) may appear for implementers — they reset caches but keep shared mock workflow data until refresh.
Register modules for the semester (CAP-10)

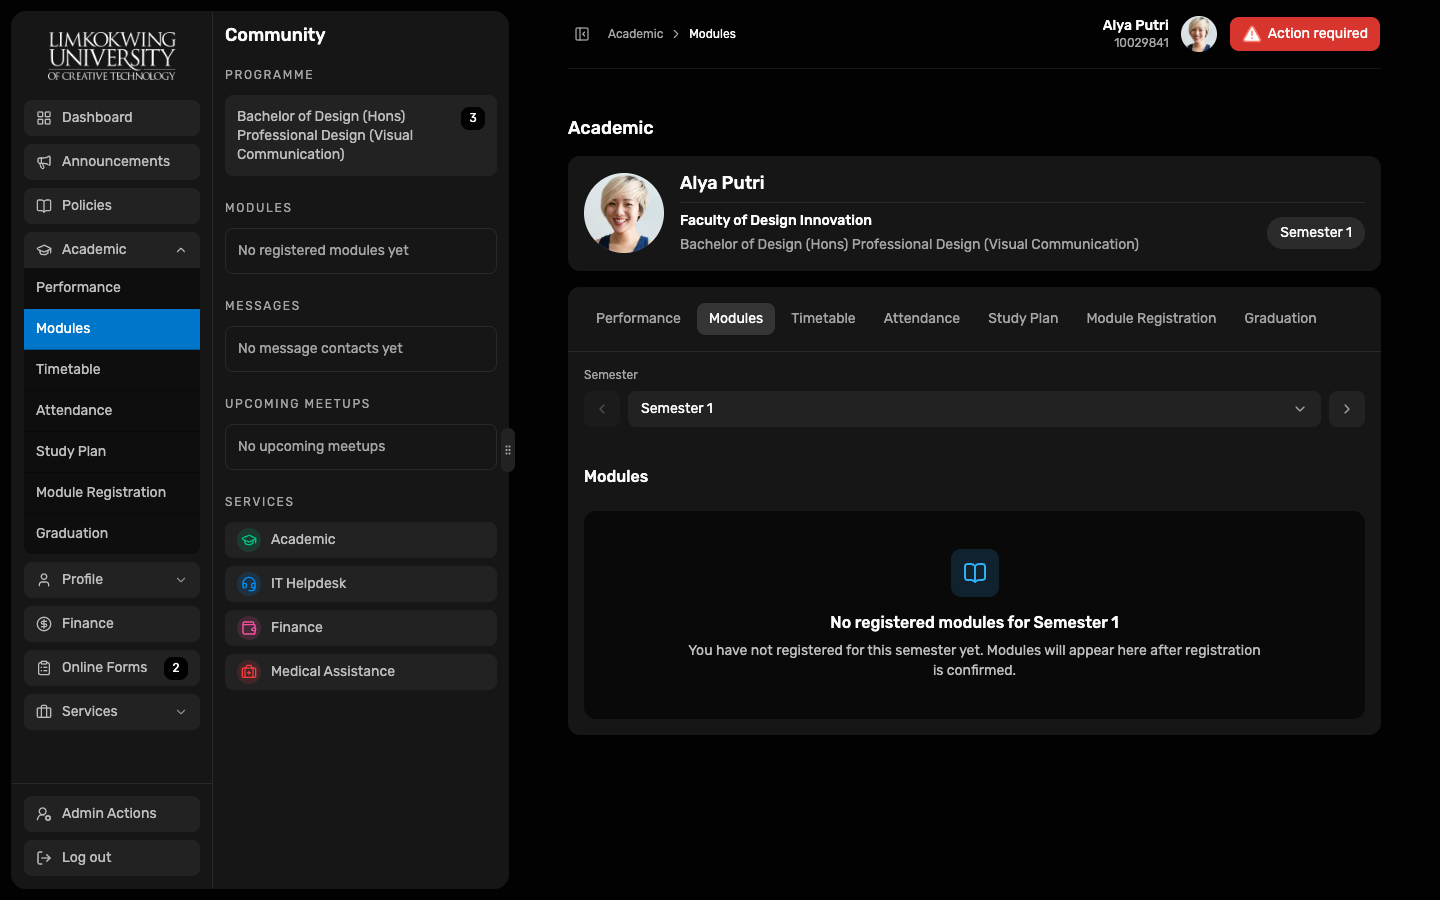
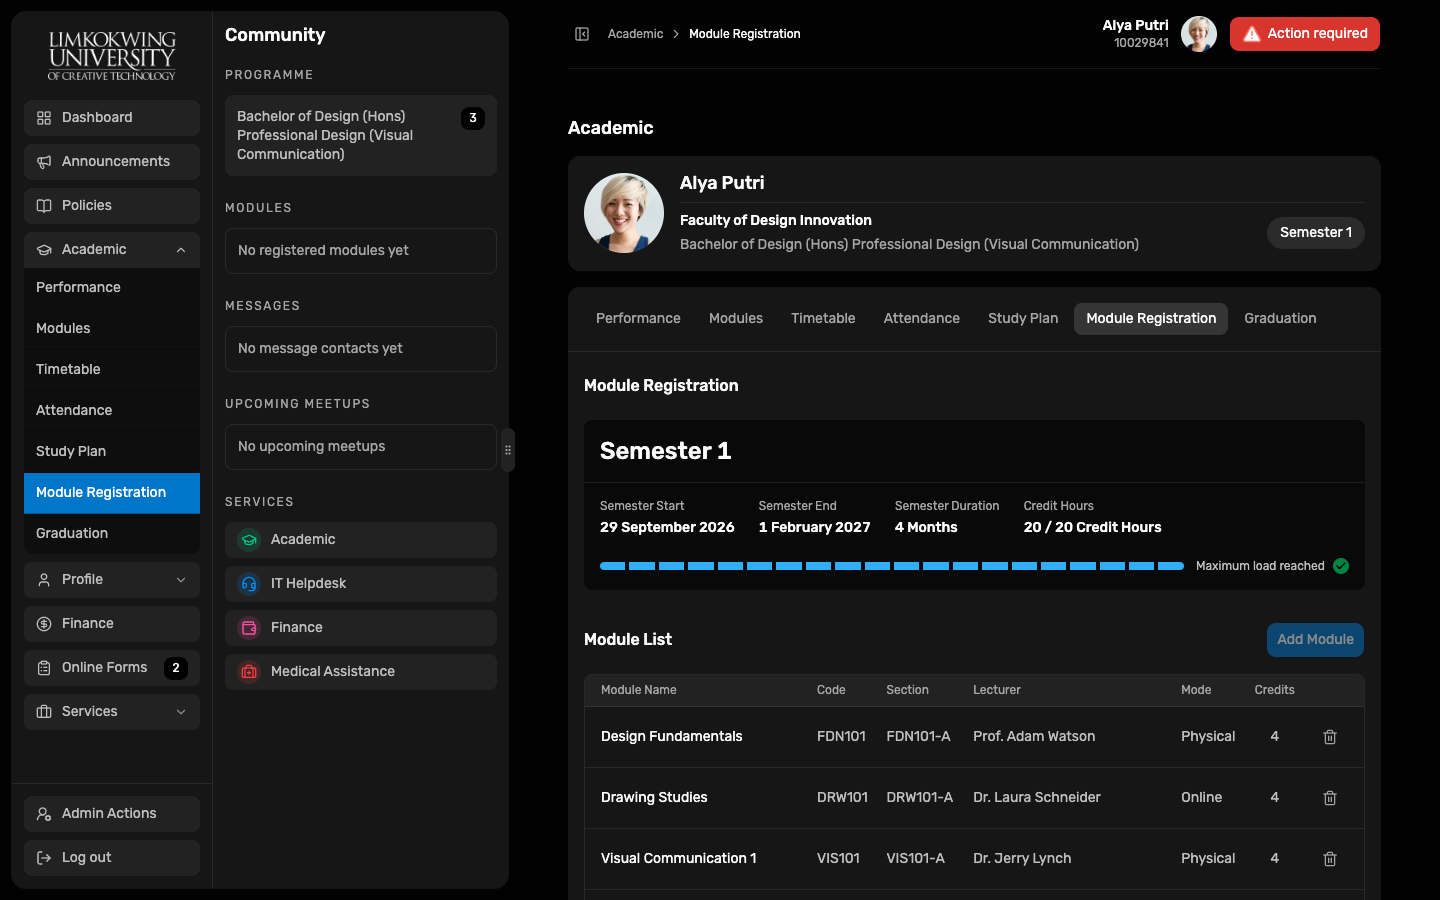
  1. Go to Academic → Module Registration.
  2. Confirm you are in the open registration window for your study period.
  3. Pick recommended / required modules. Watch live credit totals (typically 12–20 credits) and clash warnings.
  4. Choose a class section when offered, then open the confirmation popup to review tuition and registration fees.
  5. Confirm once. The demo creates module registrations and invoices in this session; that study period then becomes read-only.
  6. If you are an international student without eVAL approval, fee preview/confirm may stay blocked (prototype Immigration rule).

Check fees and submit a bank-transfer proof (CAP-45 / CAP-46)

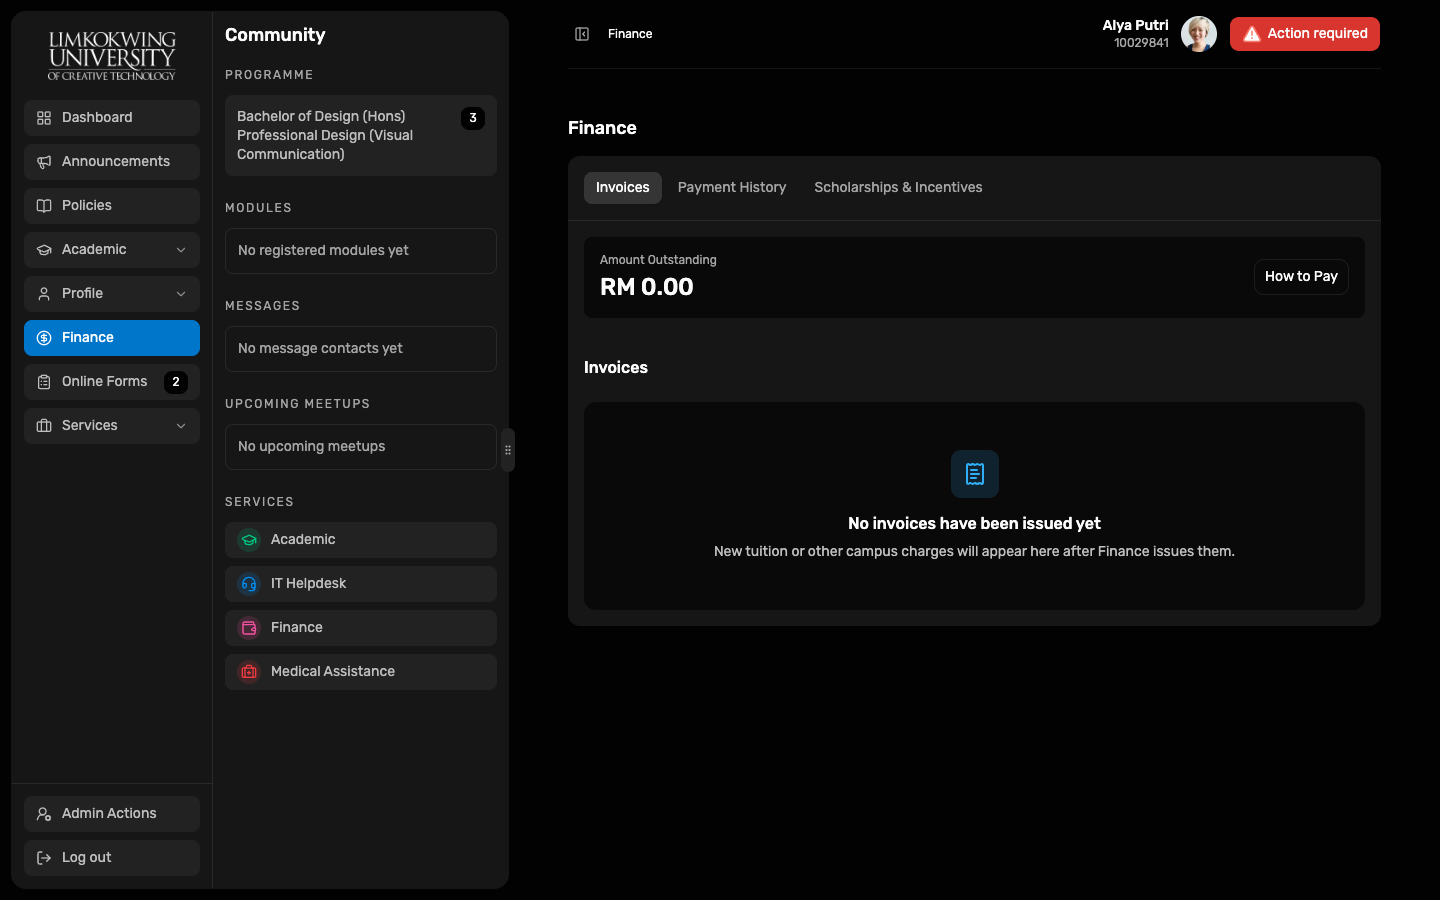
  1. Open Finance from the sidebar.
  2. Read the signed balance summary and open any unpaid invoice.
  3. Use campus counter or bank-transfer instructions from the popup — demo bank details are fictional and must not ship Live.
  4. Attach proof metadata for a pending transfer. In this demo the file content is not stored durably.
  5. Bursary verification and ledger allocation happen outside the student UI Live (staff CMS).

Follow a module: timetable, materials, assignment (CAP-11 / 18 / 20)

  1. Open Academic → Timetable for the weekly schedule, or Modules for module cards.
  2. Open a module for materials by teaching week, assessments and lecturer contacts.
  3. For an assignment: open the detail, note release and due times, then submit one PDF or ZIP (≤ 50 MiB) in the demo session.
  4. You can replace or delete before the due cutoff. Brief downloads remain placeholders until Live file delivery exists.

Review results and study plan (CAP-13 / 14)

  1. Open Academic → Performance for GPA/CGPA charts and published module grades.
  2. Only published results appear — marking is a lecturer/staff path.
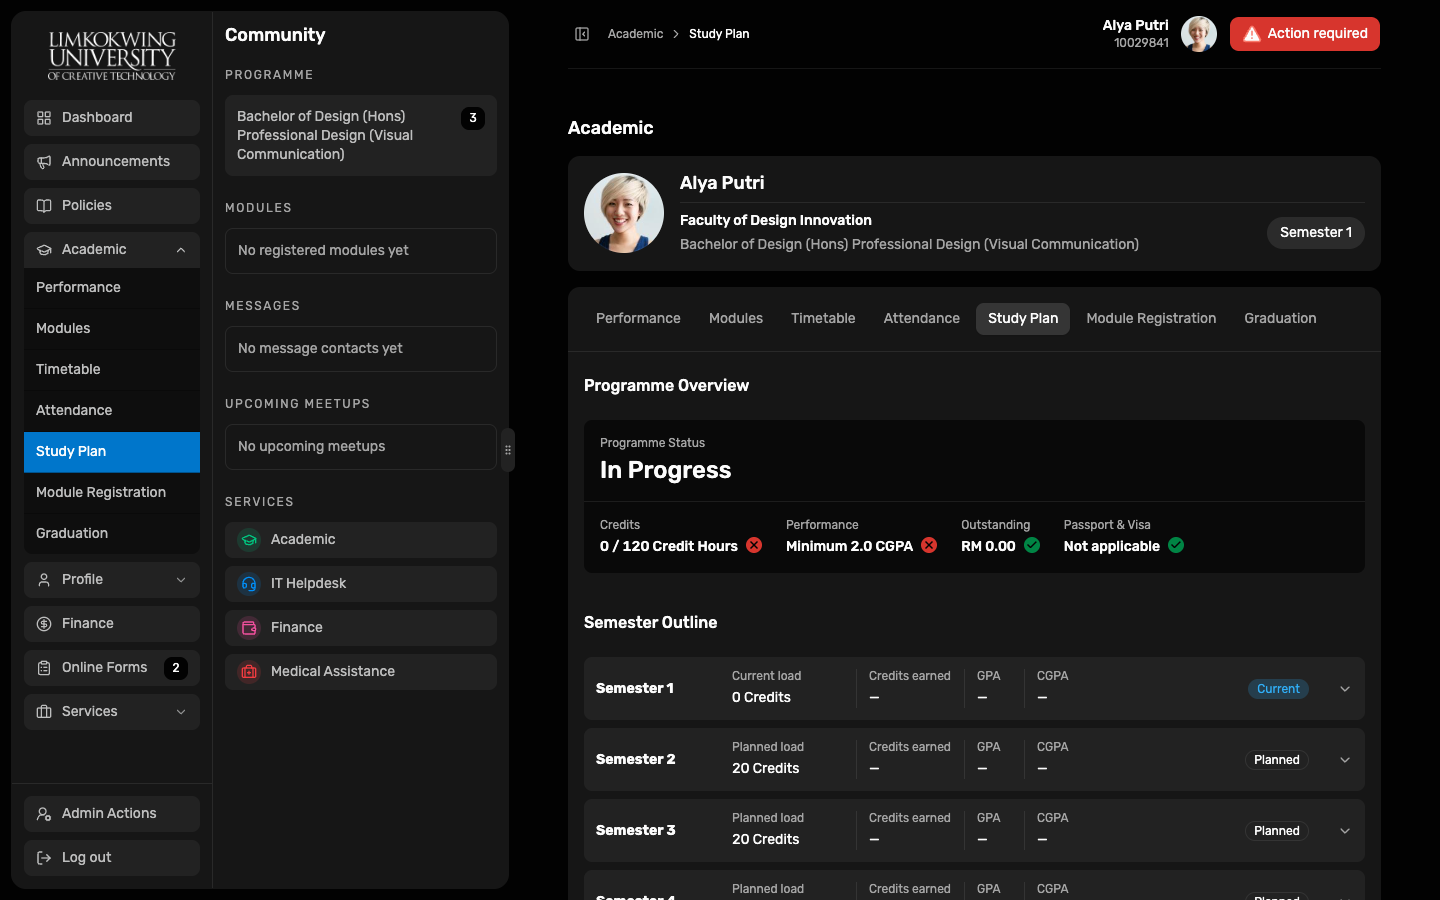
  3. Open Study Plan for the six-semester journey, prerequisites and eligibility gates.
  4. If eligible, Open Graduation starts the CAP-15 clearance hub.

Submit an Online Form (CAP-51)

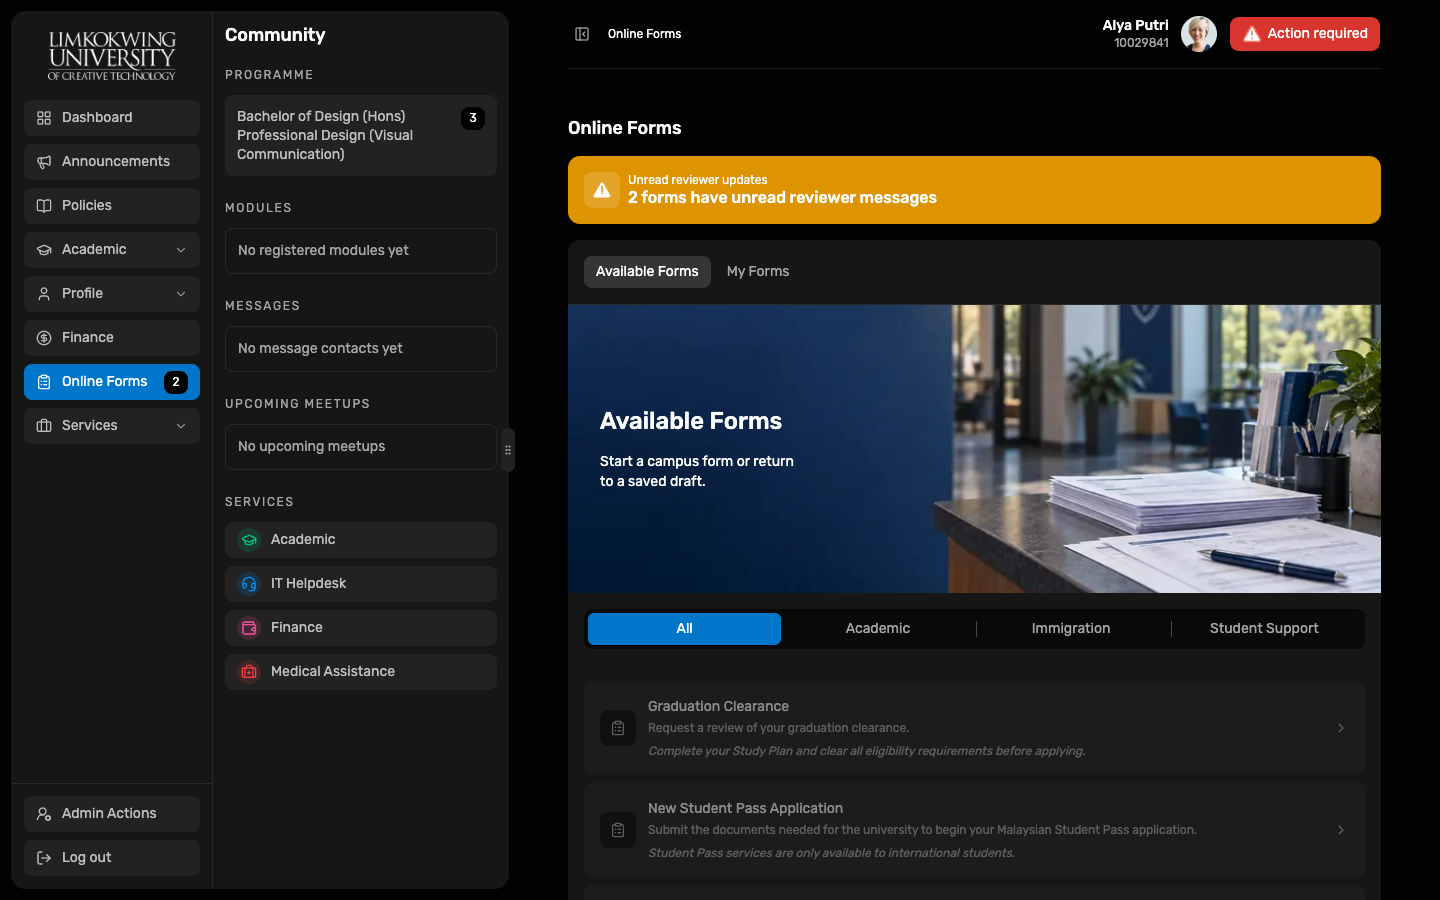
  1. Open Online Forms. Browse the campus catalogue or My Forms history.
  2. Start a template, fill fields (prefills may come from the current Profile session), attach required files where shown.
  3. Save a draft, then submit. Submitted answers are immutable in the demo; later evidence goes through messages.
  4. Watch status history and the student/reviewer conversation on the case.

Track a Student Pass case (CAP-50)

  1. Available only when the active student is classified International for the enrolment campus.
  2. Open Immigration for the Student Pass overview and Applications progress.
  3. Follow the staged timeline (new / renew / cancel). After eVAL, medical result submission uses a case-linked Online Form.
  4. Finance invoices/proofs for Immigration fees reuse the Finance screens. All of this stays session-only until Live integration.

Use campus Services and IT Helpdesk (CAP-54 / 33)

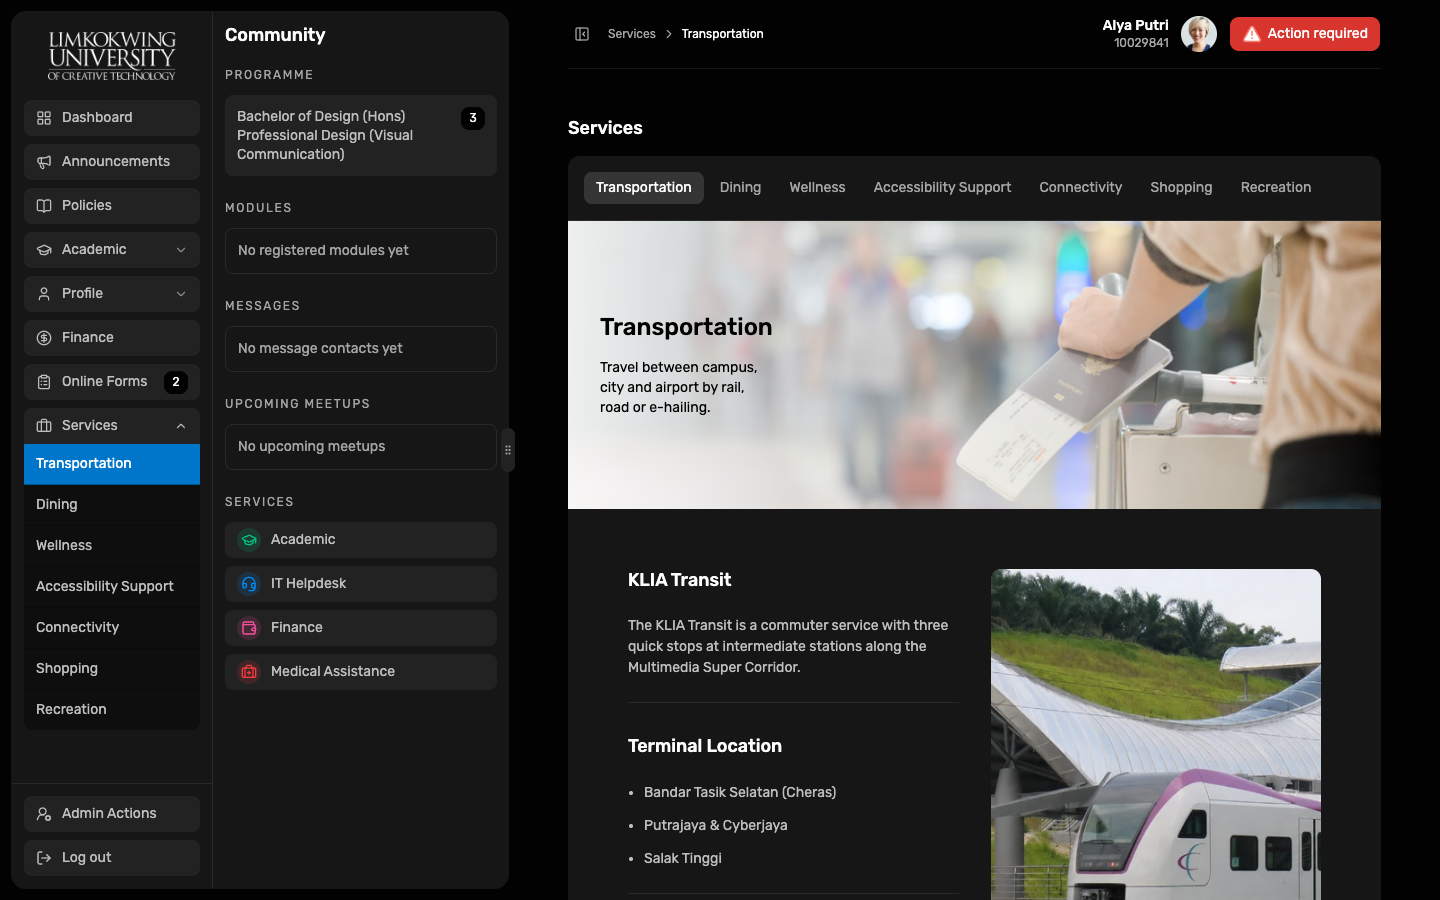
  1. Open Services for Transportation, Dining, Wellness, Accessibility, Connectivity, Shopping and Recreation.
  2. Accessibility Support is informational (CAP-35); formal accessibility requests use Online Forms.
  3. Open Community → IT Helpdesk to message support with allowed attachments (session chat).